Automation Basics with Selenium and Python.
Selenium is a powerful tool which can automate your basic tasks and can be used for web-scrapping. Automating repetitive tasks can help to save a lot of time. If you are programmer or just a business-person knowledge of selenium and python can be very helpful for your daily tasks.
This is beginner friendly article. If you don’t know anything about selenium or even python don’t worry, I have simplified this article in such a way anyone can easily understand and use it.
What are we going to do?
Before reading full article let’s understand what you will get to learn /know from this article.
- How to install & setup python, selenium and chromedriver for automation
- Basics of selenium
- How to automate websites — We will login to random website with some pre-defined credentials, take some data after login for example logged username and logout of the website.
Requirements:
There are few tools you need to have before starting to code.
- Python — Make sure your system has python installed. You can simply go to
command prompt or terminaland typepython --versionon windows and for linux/macospython -versionmight work. If you don’t have python installed here is the installation link.
In my case I am using python 3.9.7 version
2. Selenium:
Once you installed python, we need to install selenium library which will help us do automation. A library is already written code or tool which we can use. So Selenium library has some pre-built functions which will help us to interact with web browsers and send our commands.
Command to install selenium: pip install selenium
This will install selenium in your system locally.
3. Chromedriver:
WebDriver is an open source tool for automated testing of webapps across many browsers. Chromedriver provides us environment or browser which we can control through our script for visiting web pages.
Download link: ChromeDriver — WebDriver for Chrome (chromium.org)
That’s everything we need for this tutorial.
Now we have to setup our code.
Note: Make sure version of your chromedriver and chrome browser installed in your system is same. if you are downloading latest stable version from chrome driver site make sure your chrome is updated to latest version. otherwise, you will get errors.
Code Setup
- Create one folder which will hold our code. In that folder add
chromedriver.exeYou will probably get zip after downloading it. Extract it and it will have .exe file.
2. Let’s create our python file. I have named it test.py
So, my selenium folder will look like.

Coding
first we will import libraries that we need. Add the below code in your test.py file.
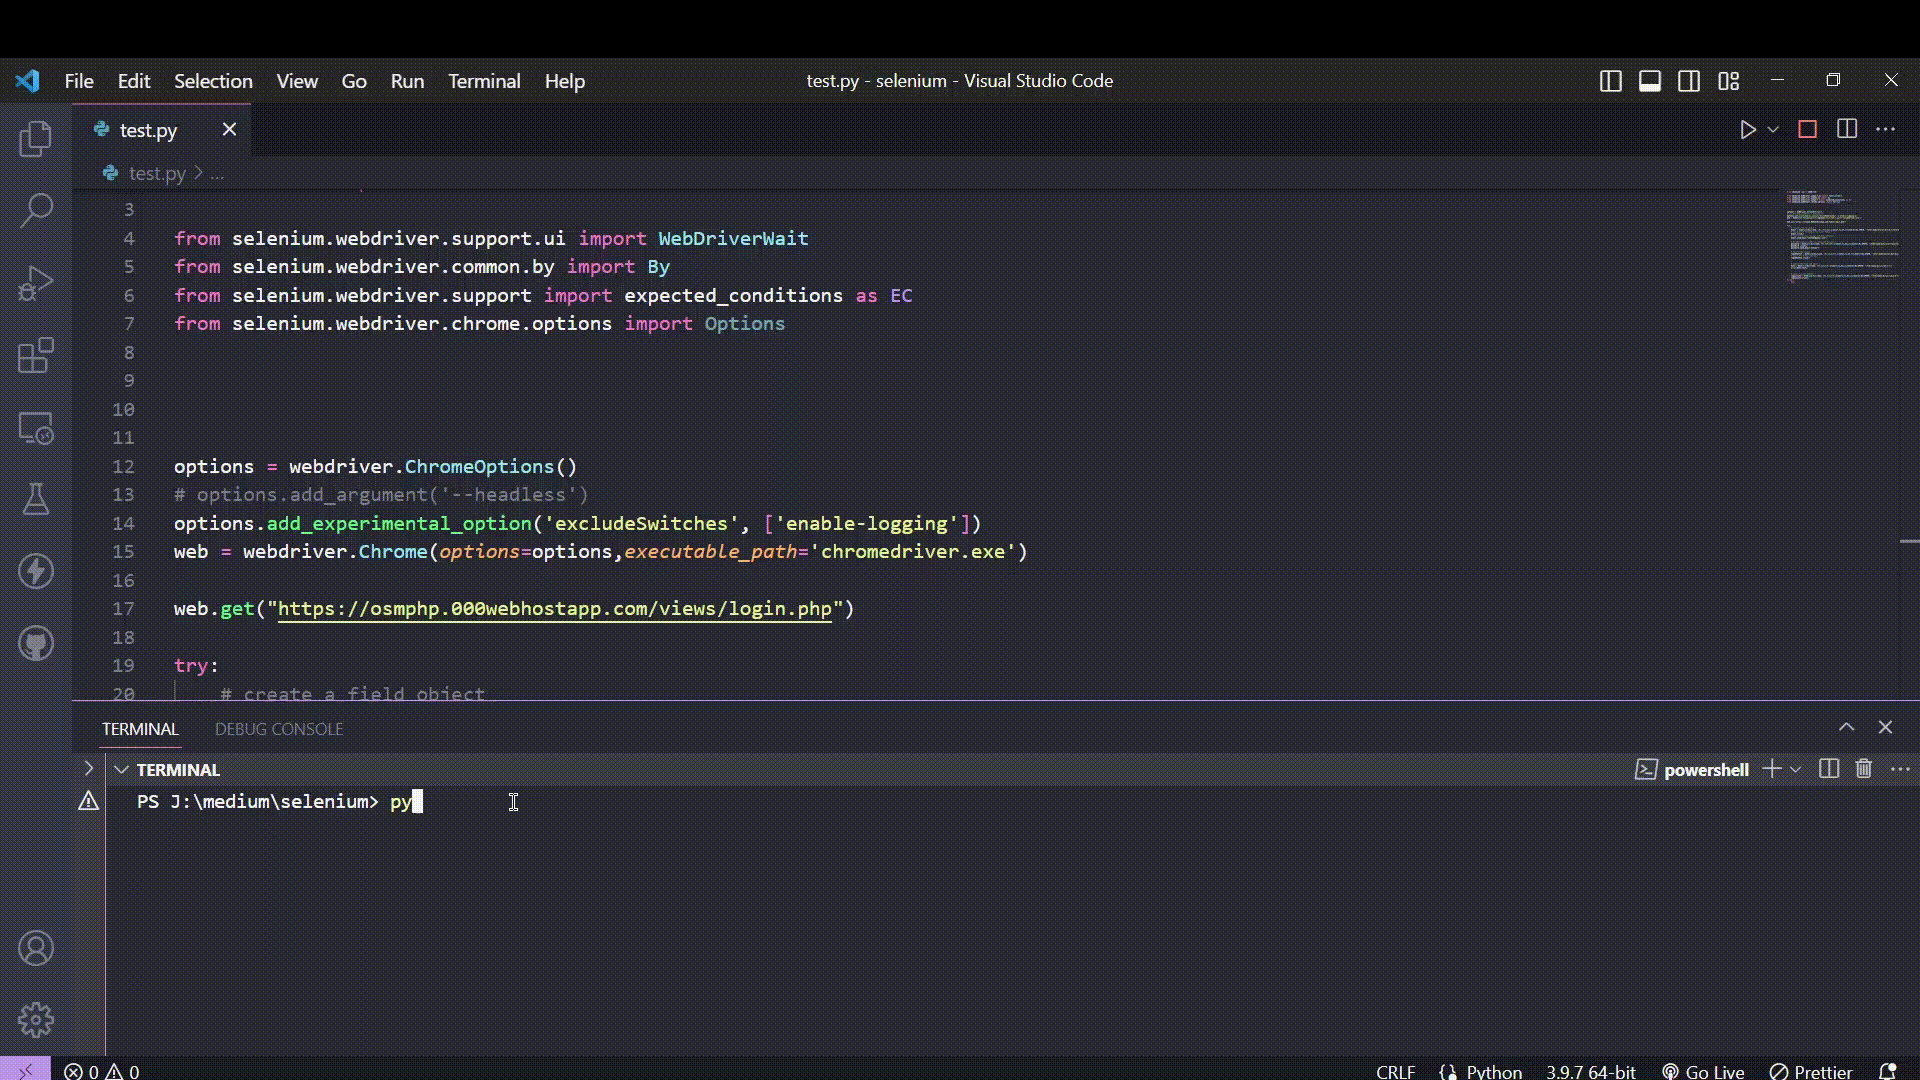
from selenium import webdriver

from selenium.webdriver.support.ui import WebDriverWait
from selenium.webdriver.common.by import By
from selenium.webdriver.support import expected_conditions as EC
from selenium.webdriver.chrome.options import Options
These all selenium libraries have different features that we require.
First import webdriver is required for communicating with web browser and establishing the connection and managing it.
webDriverWait — This function / class helps us to add waiting time in our operations. Sometimes in our automation we need to wait for server response and while web page is loading, wait functions helps there to add implicit and explicit waiting. For example you have a website which is generating combinations of strings or names when you submit a word. So we need to wait for the web page or website to load the generated data.
By & EC — These functions provides easy selection of web elements such as input fields, buttons, text etc with their Xpath or CSS properties.
Options — This gives additional options for our webdriver. Chrome can run in headless mode or live mode. Headless is basically our code will visit websites and scrap data and we won’t see this process. We will directly get the data/ result.
In the other hand if you want to browser should open in your system in front of you, type automatic input and click on the button as coded by you. you should disable headless mode. By default, it’s disabled.
Now let’s move to next code.
options = webdriver.ChromeOptions()
# options.add_argument('--headless')
options.add_experimental_option('excludeSwitches', ['enable-logging'])
web = webdriver.Chrome(options=options,executable_path='chromedriver.exe')
As you can see how to add headless option for now we have commented it because I want to show you how automation works.
focus on last line: web is our object which is holding chromedriver properties. Now we will run all our functions on this property.
Step 1: Launching a browser and visiting website
So let’s choose any website for automation. This is one of my projects of simple online store crud operations.
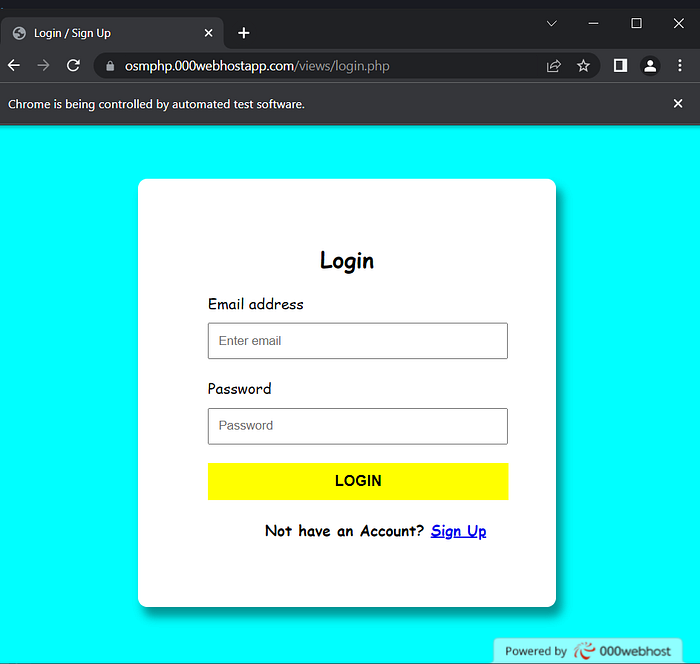
Login / Sign Up (000webhostapp.com)
copy the website link and hit the get request.
web.get("https://osmphp.000webhostapp.com/views/login.php");Now run the code. This get command should open a browser and show you the login page.
Congratulations!! You just have successfully opened up a browser and visited website through selenium code. This means you have properly installed and configured everything.
At this stage if you are not able to open the browser or getting any kind of error drop in the comments. I will surely help you.
Step 2: Logging in website
You can sign up using credentials this website doesn’t ask for OTP. I leave it this to you to automate sign up page when you complete this code.
Dummy Credentials for testing:
email: johndoe@gmail.com
password: 123123
We have to enter login details in the input fields. So for it we need to select those input fields and pass the input via code, that’s our basic requirement.
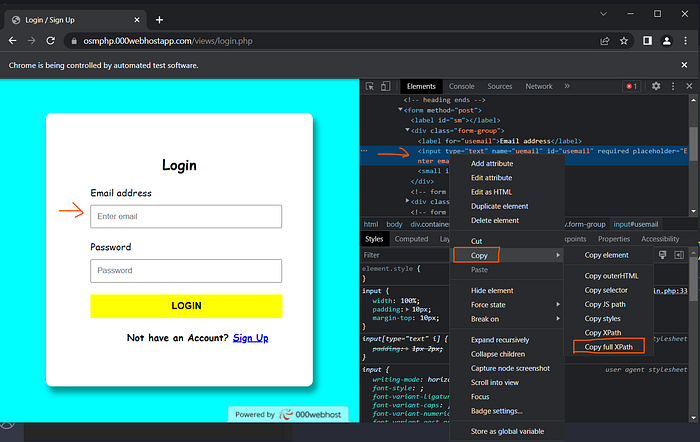
Now to achieve this we need to identify the HTML Elements uniquely on webpage. The identification of the elements can be done via JS path, CSS ID, Xpath / full XPath. All are little bit same. I like to use Full Xpath it totally gives full unique IDs. So copy the Xpath of Email address and similary for password field as show in the above screenshot.
try:
    # create a field object
    email = WebDriverWait(web, 20).until(EC.element_to_be_clickable((By.XPATH, "/html/body/div[1]/div/div/form/div[1]/input")))
    # click on it to enable the input field
    email.click()
    # insert the input using send_keys function
    email.send_keys("johndoe@gmail.com")

except:
  pass
So the code is well commented But let me still explain the process.
For giving any input we need to follow 3 basic steps
a. Find the input field on webpage — By using XPath. Below code is doing the input field selection work
email = WebDriverWait(web, 20).until(EC.element_to_be_clickable((By.XPATH, "/html/body/div[1]/div/div/form/div[1]/input")))b. Click / select element for adding input — click method selects the input field.
c. Add input — send_keys("inputvalue") this function sends value passed in quotes to selected element.
Similarly, select password field and button using Xpath and only use click method for button.
after this you will be logged in to website. Full code github link is mentioned below. please check it for printing the data and logout process.
Project code GitHub link: https://github.com/dhgavali/selenium-login-webpage-automation
Thanks for reading! I hope everything was clear in this article. Do follow for getting your feed with software development, automation and recent technologies updates.
Who Am I?
Let’s connect 🤝😃
Portfolio: Welcome — Home page (dhgavali.me)
LinkedIn: Dhananjay Gavali | LinkedIn